Crafting A Counter…
I had been talking about how I wanted to do these counters for a couple weeks, and when we went out to breakfast one morning, the husband said he was on board with going ahead, but he wanted me to start with this one little counter, just to make sure we liked it, you know?
As sometimes happens when we decide to move ahead with a project, I ran with it… so much so that I went home and started! Not only did I get started, but I had that baby almost done by the time the husband came home that night! The husband was a little surprised…
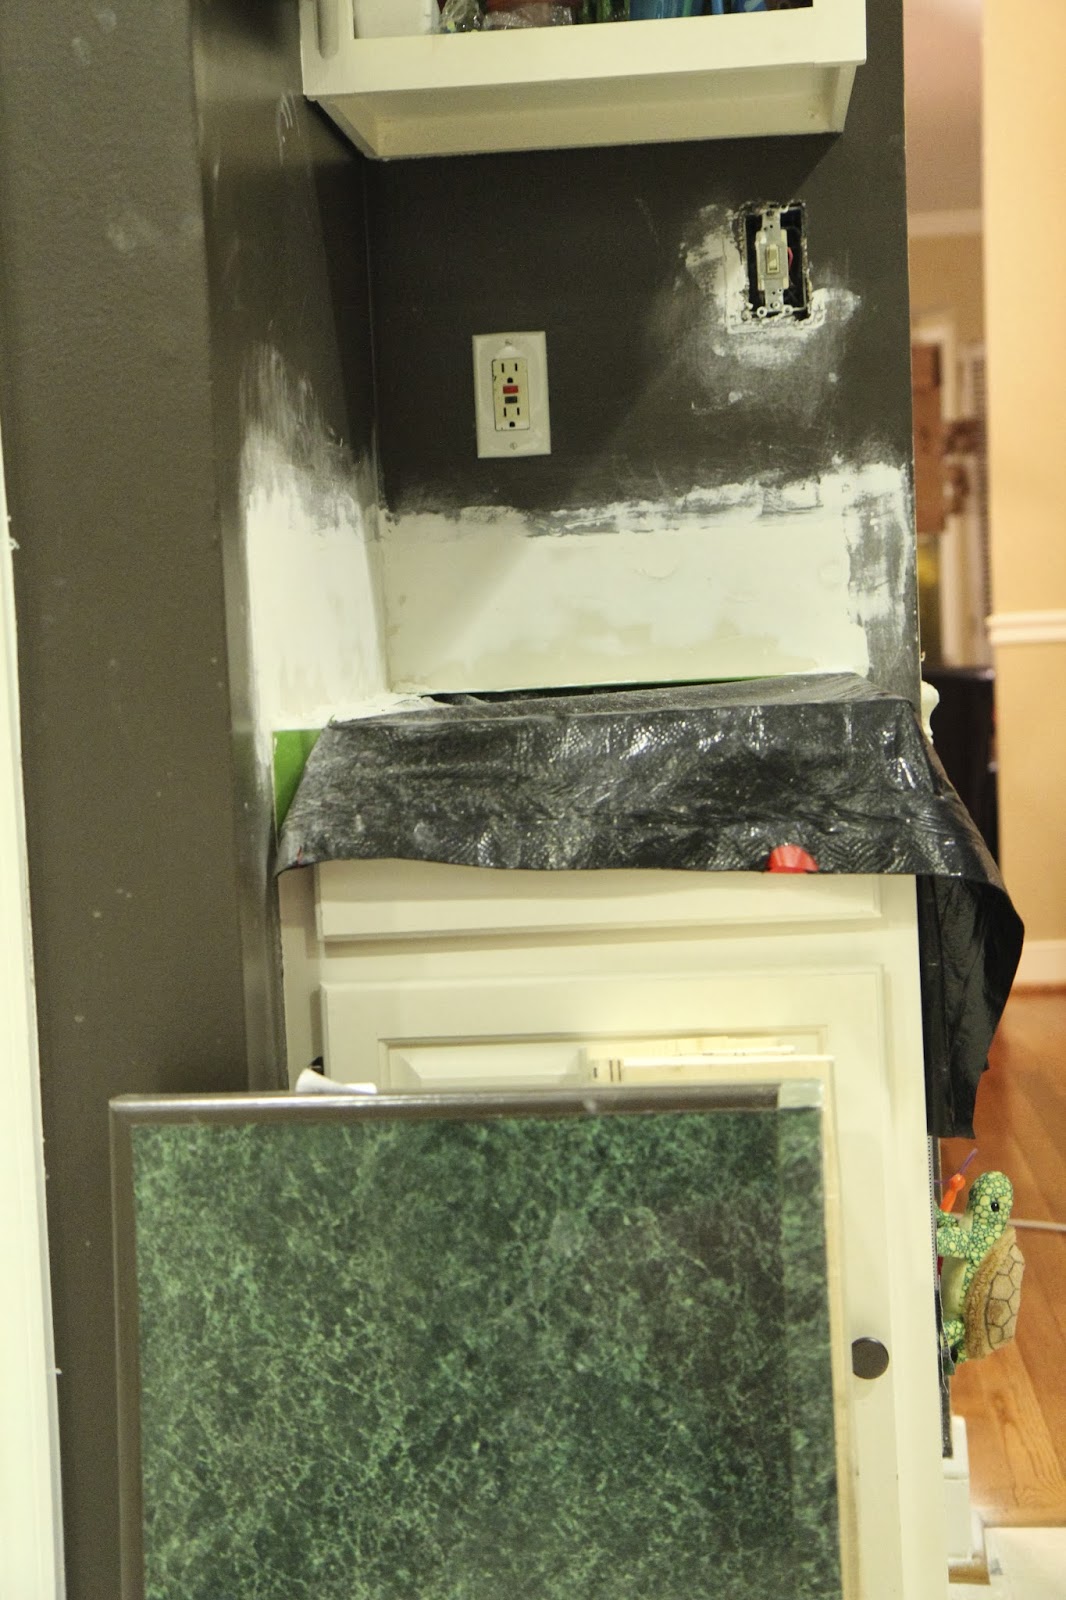
Our sad, old laminate counter came off with some prying (with a pry bar), and some sweat…
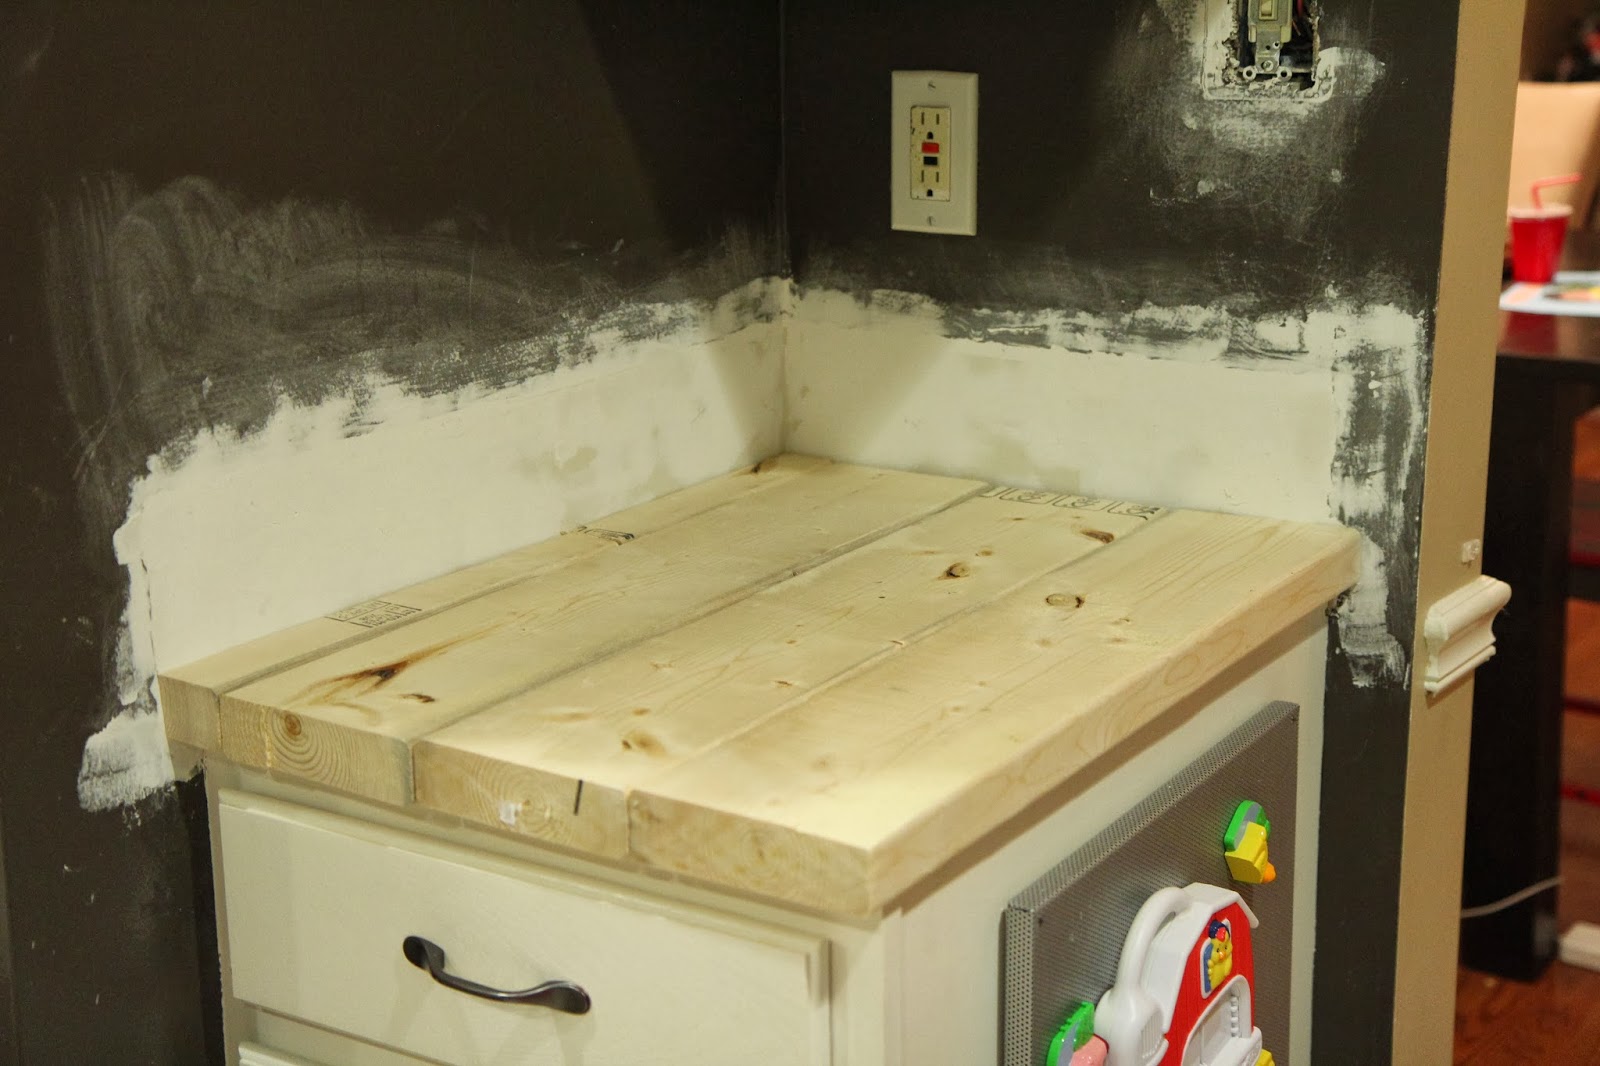
I cut my boards to size, and laid them out to make sure they would fit. I marked the boards so I would remember which side went up and toward the wall, then I glued them together.
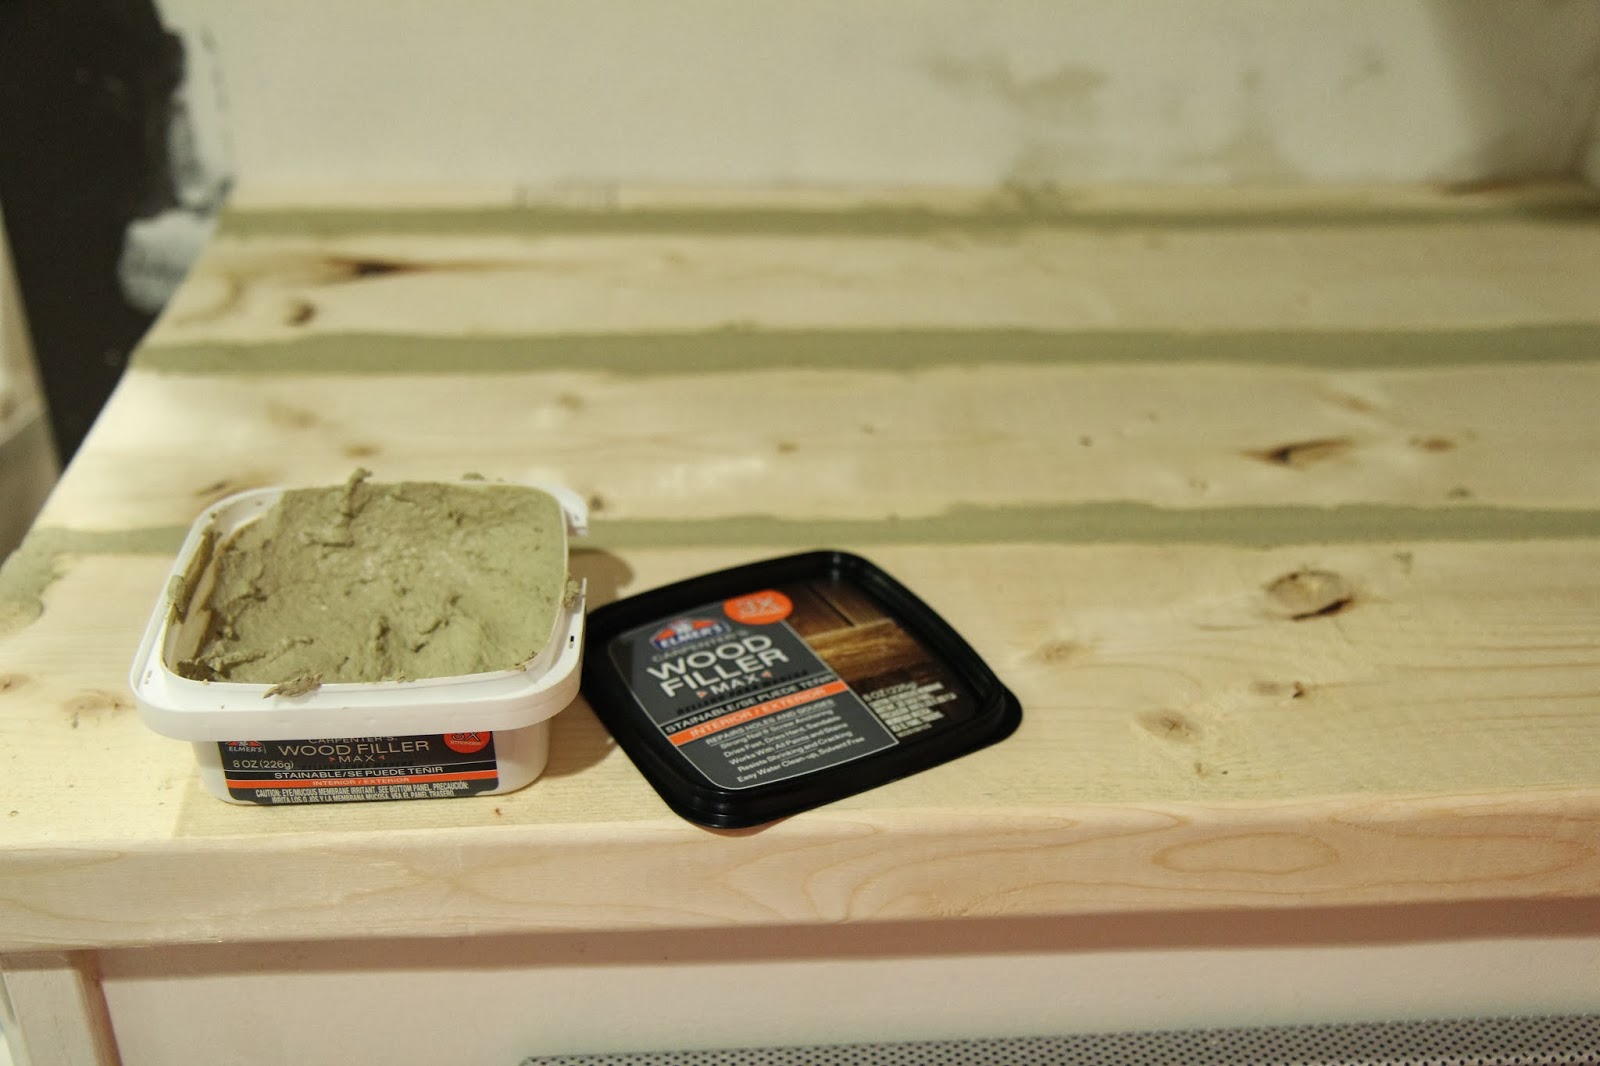
I used elmer’s wood filler to fill the grooves between the boards… on our larger counters, we used a table saw to plane the curved edges off, so there wasn’t as much curve, or area needing filled.
Even though the wood filler can be stained, it doesn’t take the stain the same way the wood does, so we wanted as little filler as we could have.
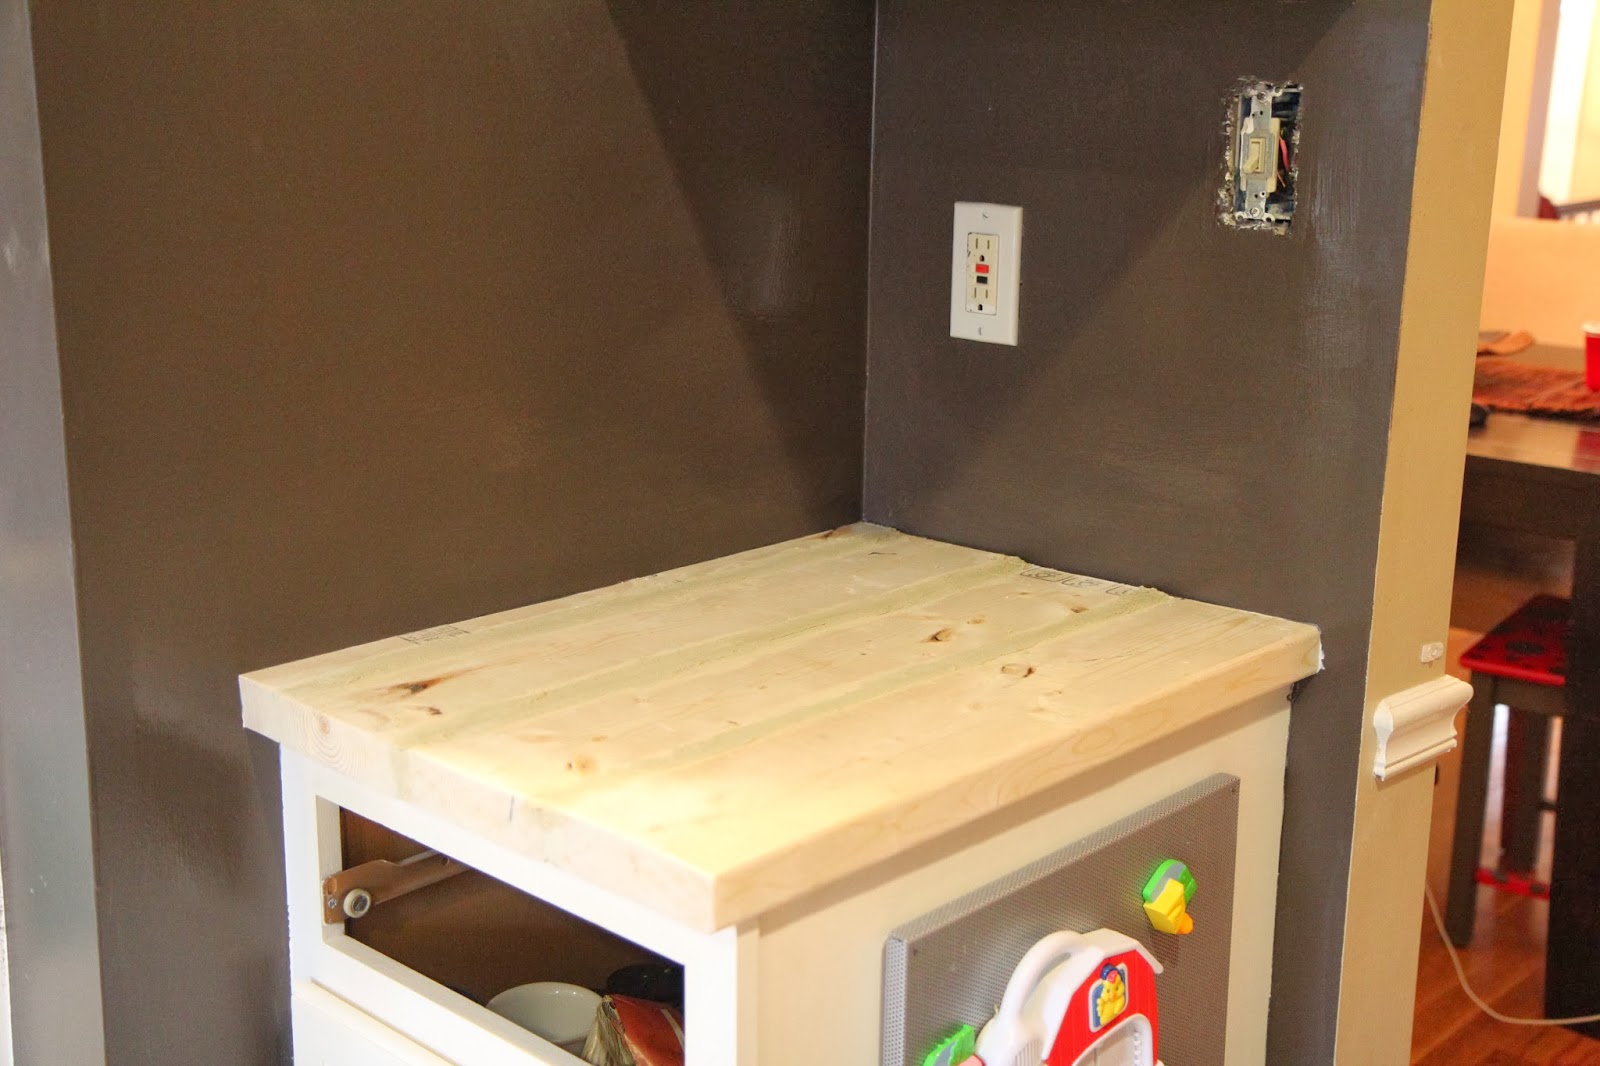
I filled and sanded,

And sanded some more…
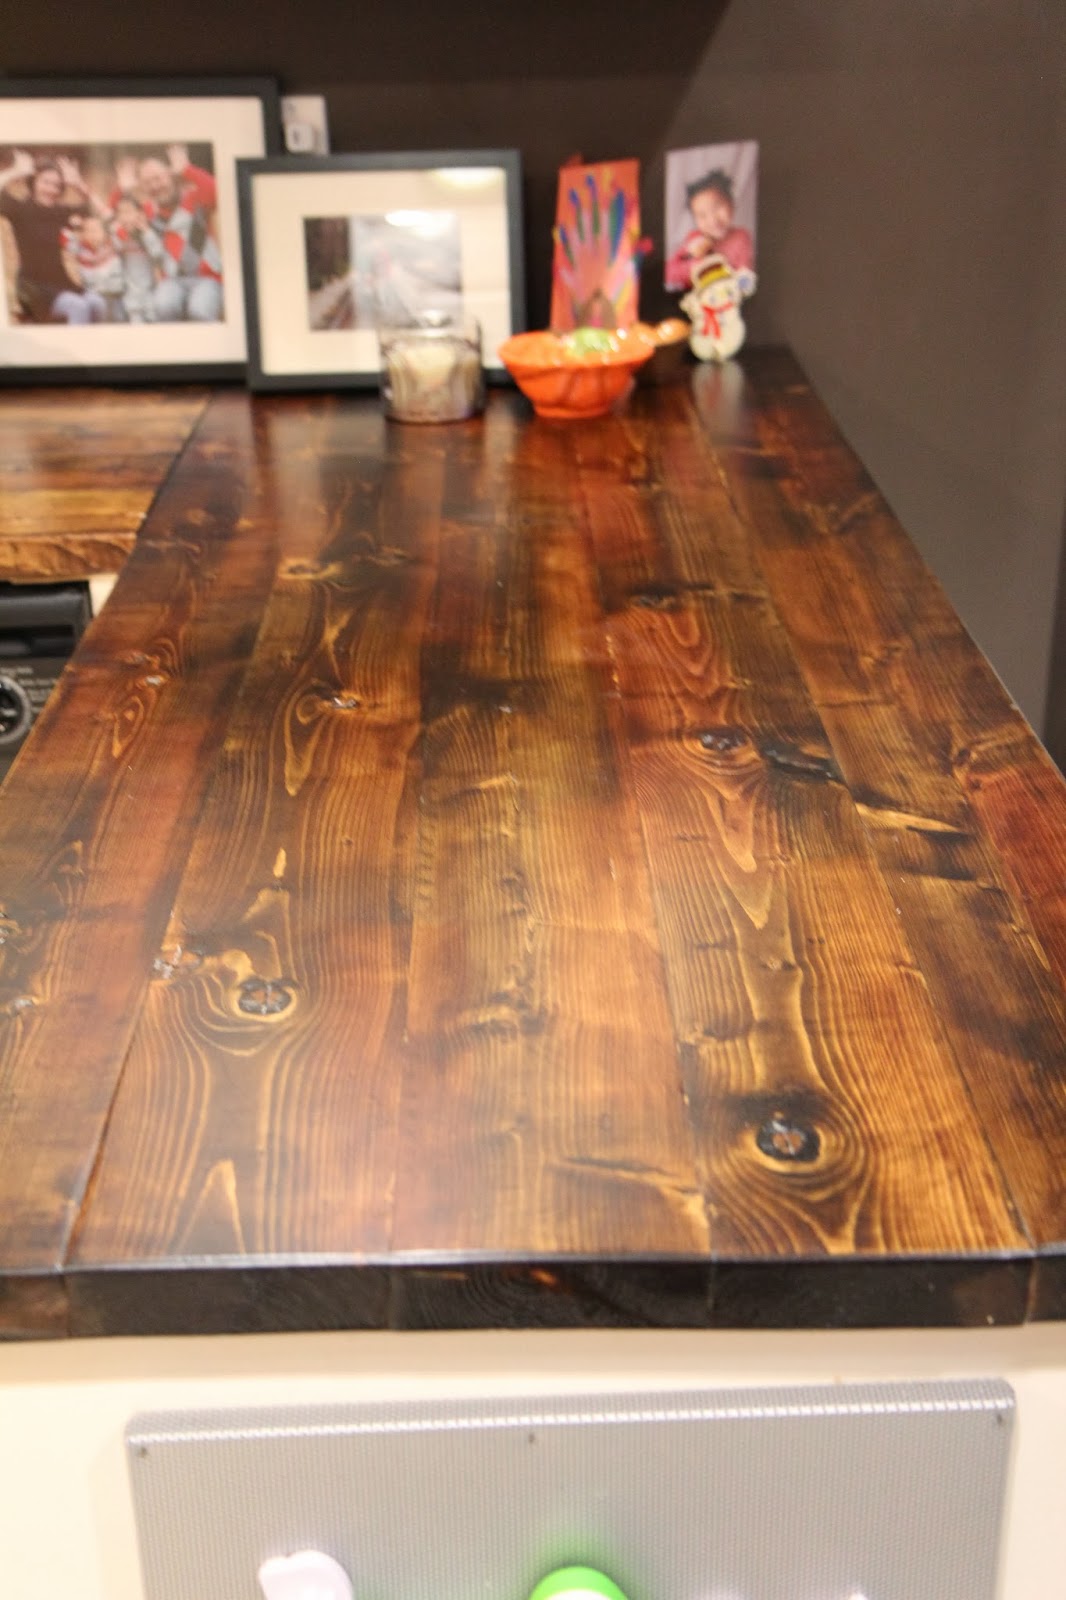
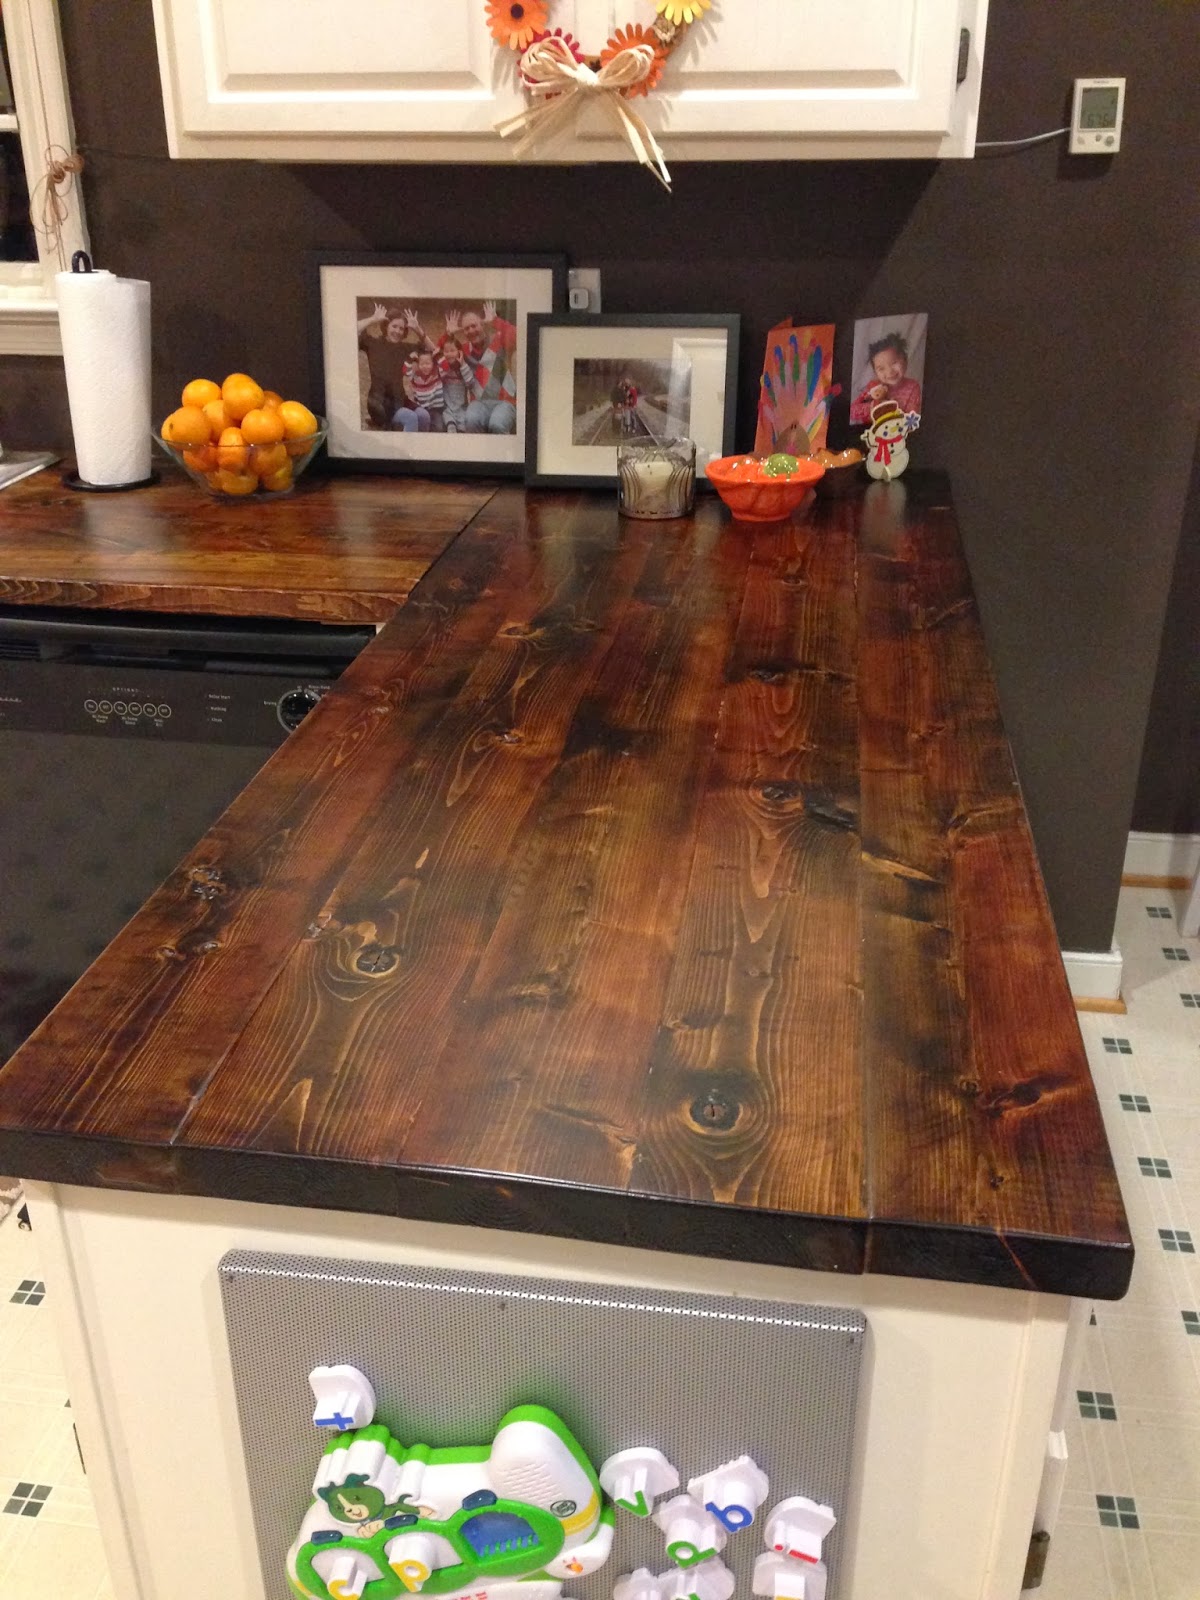
Then I started applying the stain. I used three colors… a honey, a red oak, and a dark walnut.
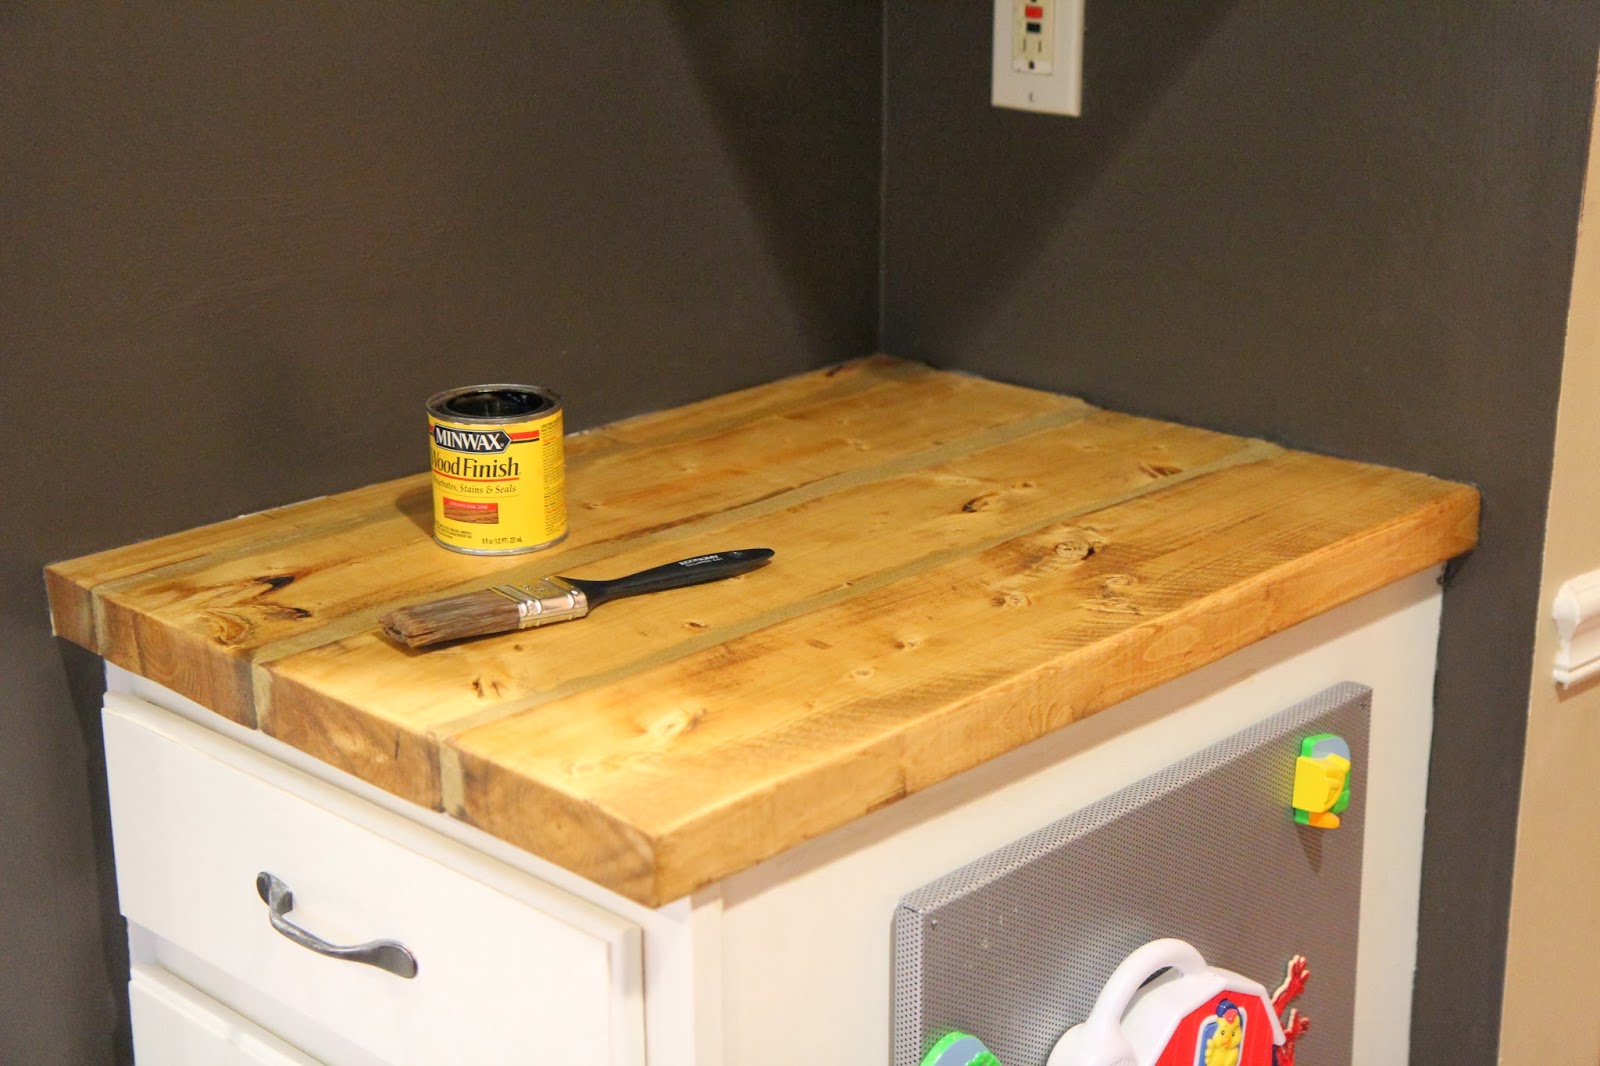
I randomly applied them in no specific pattern, and let it sit for quite a while, to let it darken up.
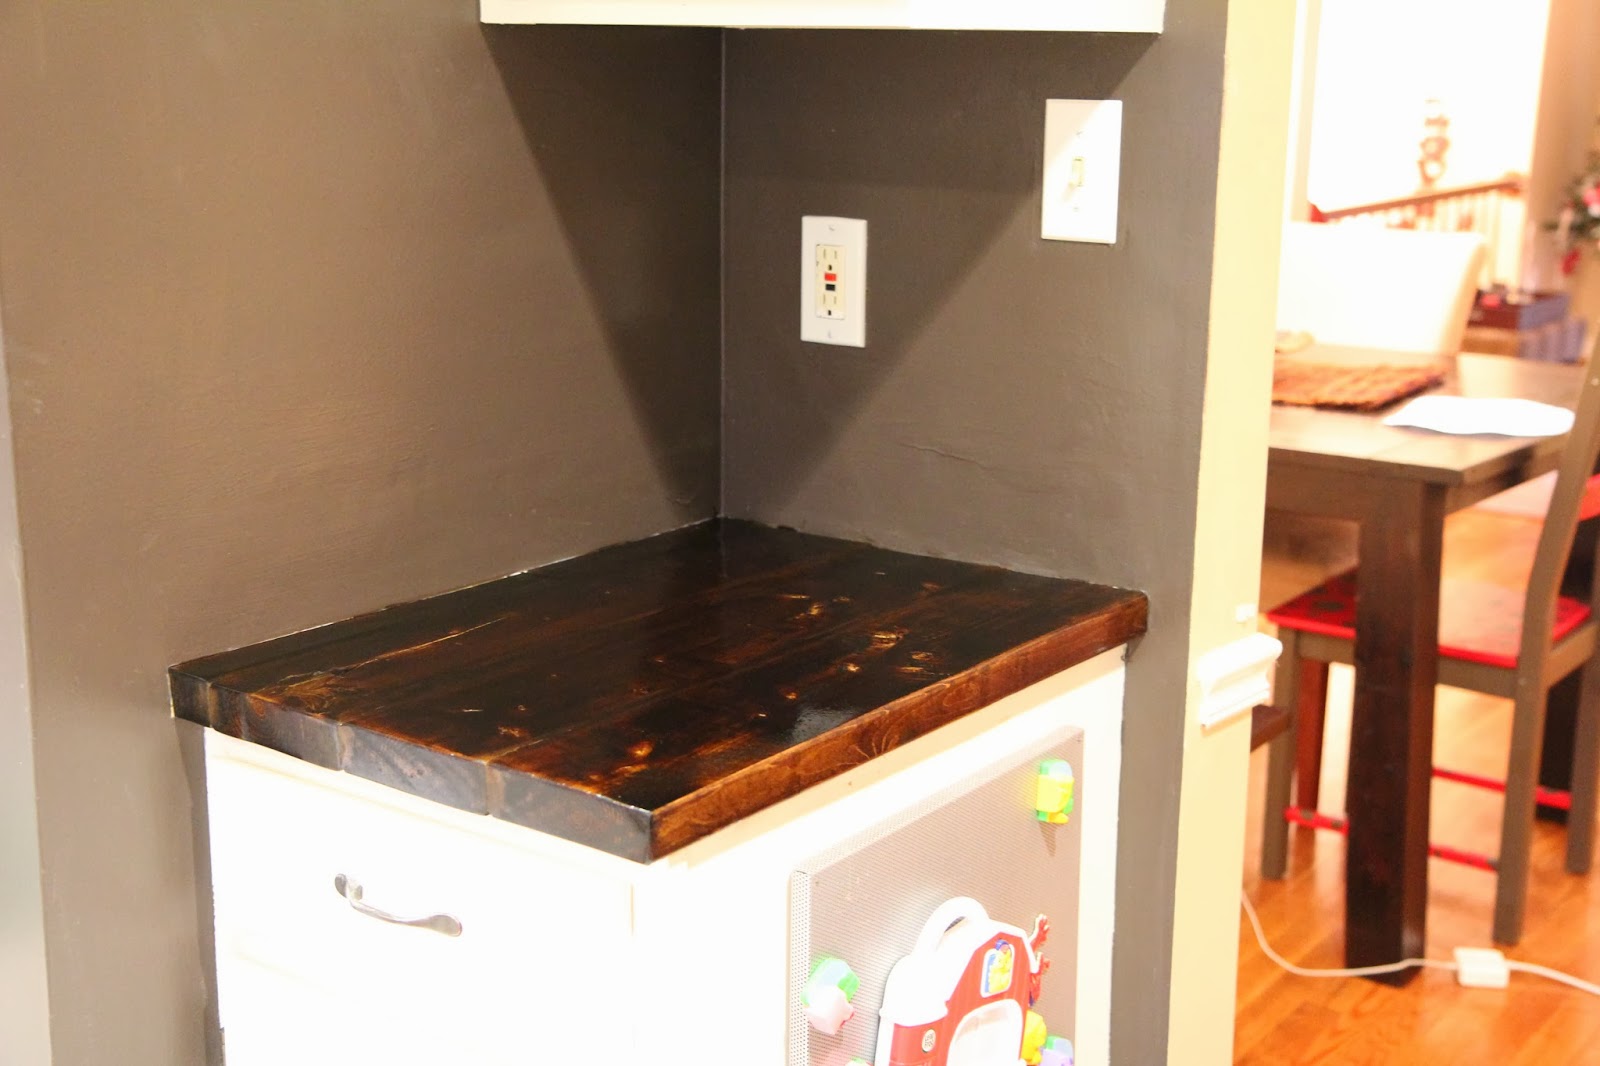
Then I wiped it off, let it sit some more, until it was dry, and started applying my polyurethane.
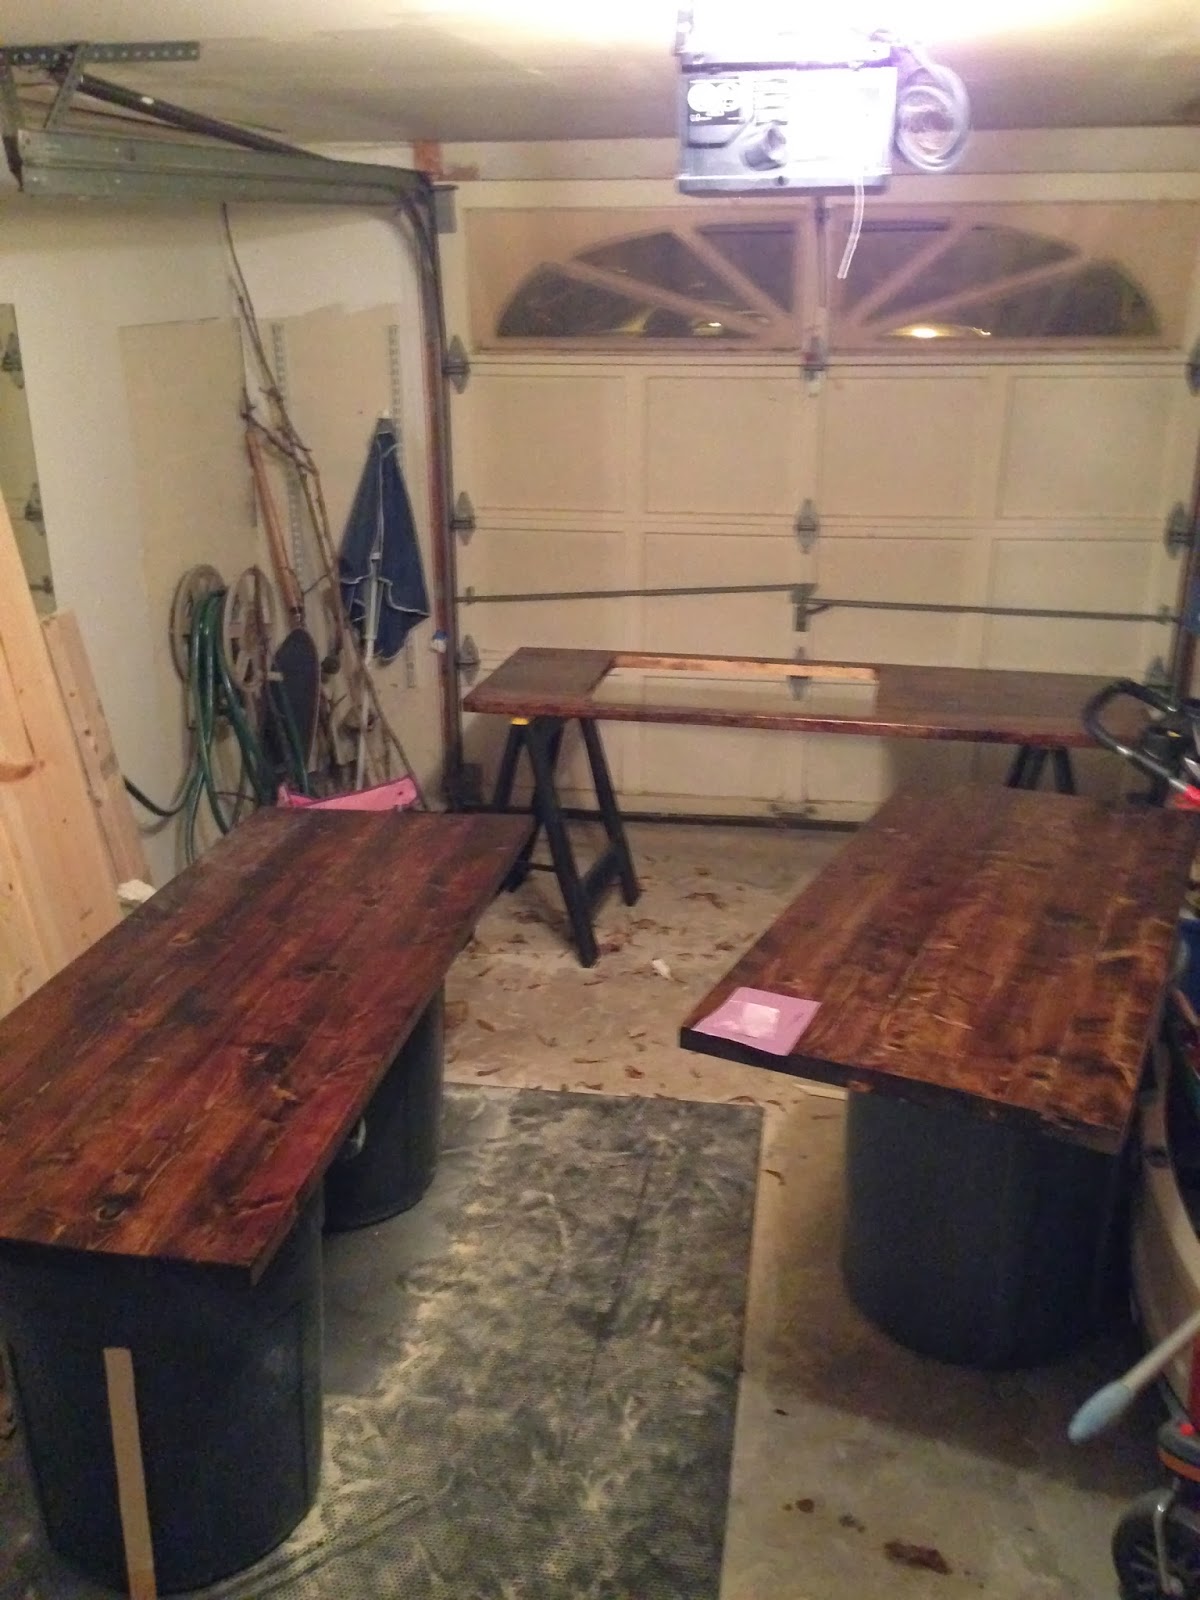
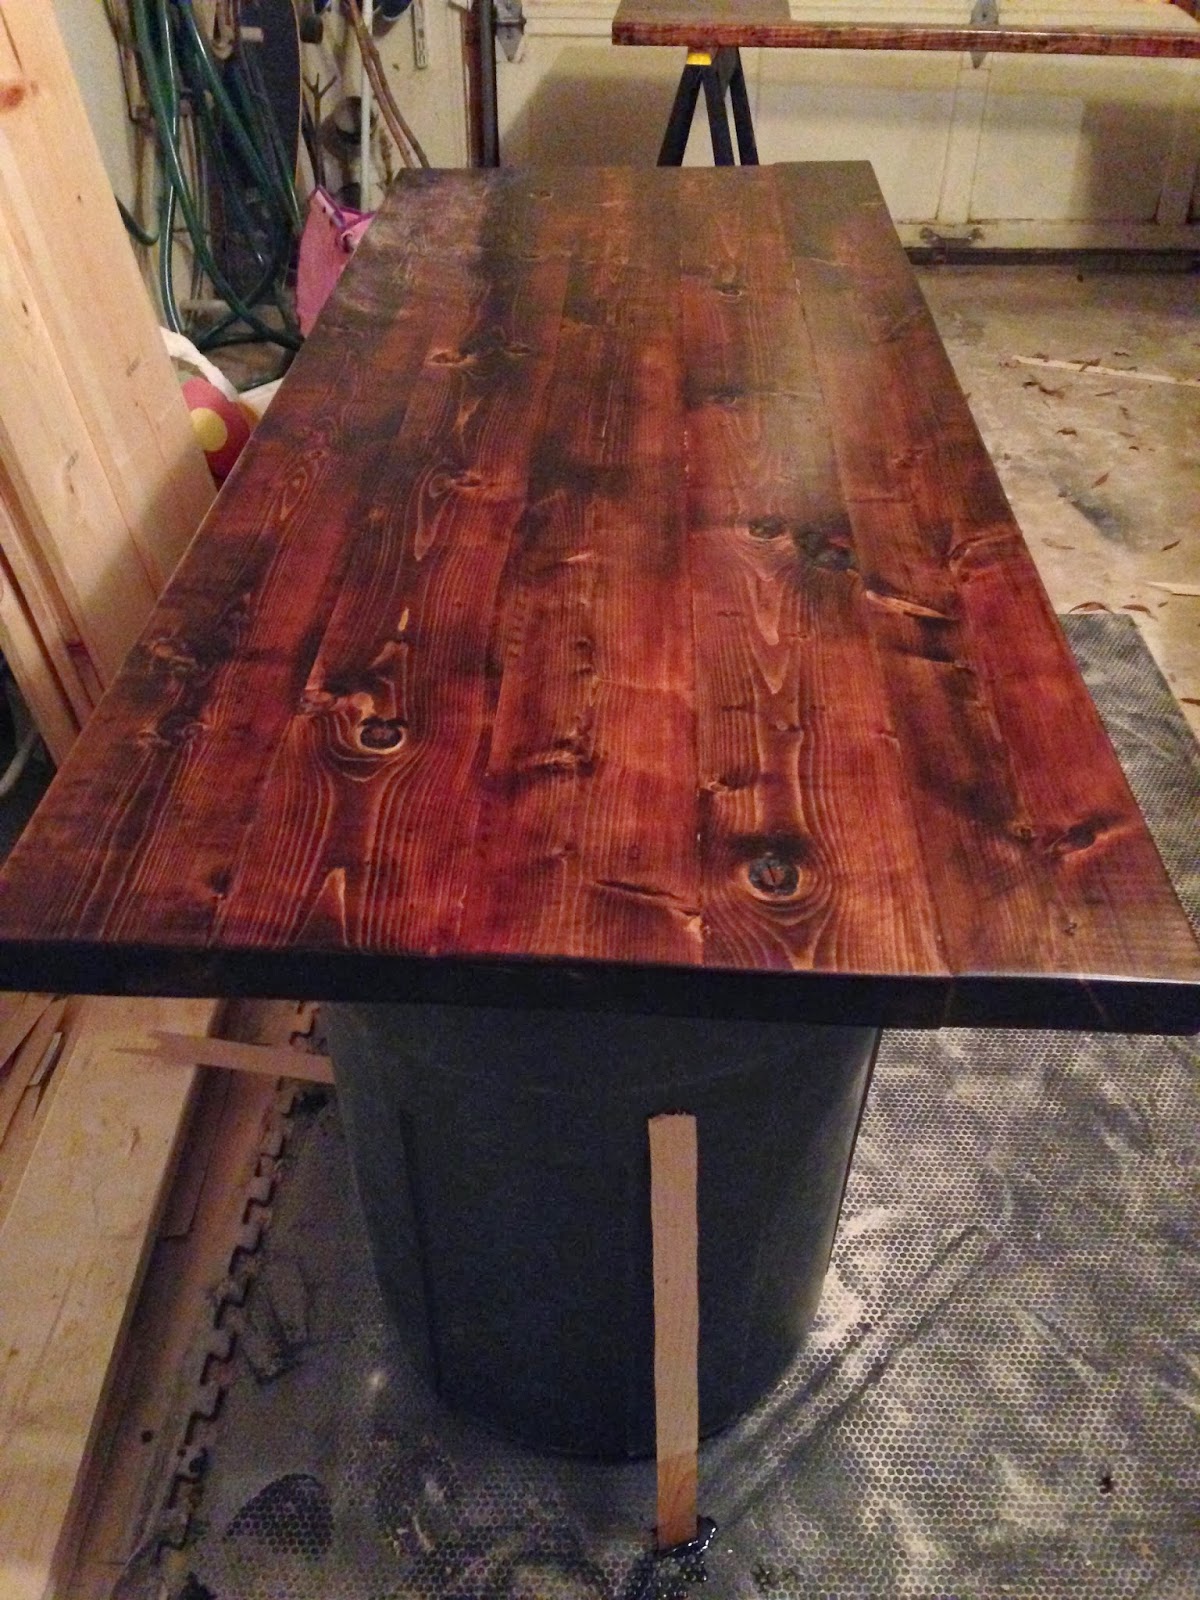
For our larger counters, I set up the three pieces in our garage, so I could work my way through assembly line style, without ripping out our current counters until we were ready to install them. After cutting the curved edges off our boards, we glued them together, holding them with clamps to make them super secure until the wood glue dried.
I applied what little wood filler I needed, sanded and sanded and sanded, and then stained…
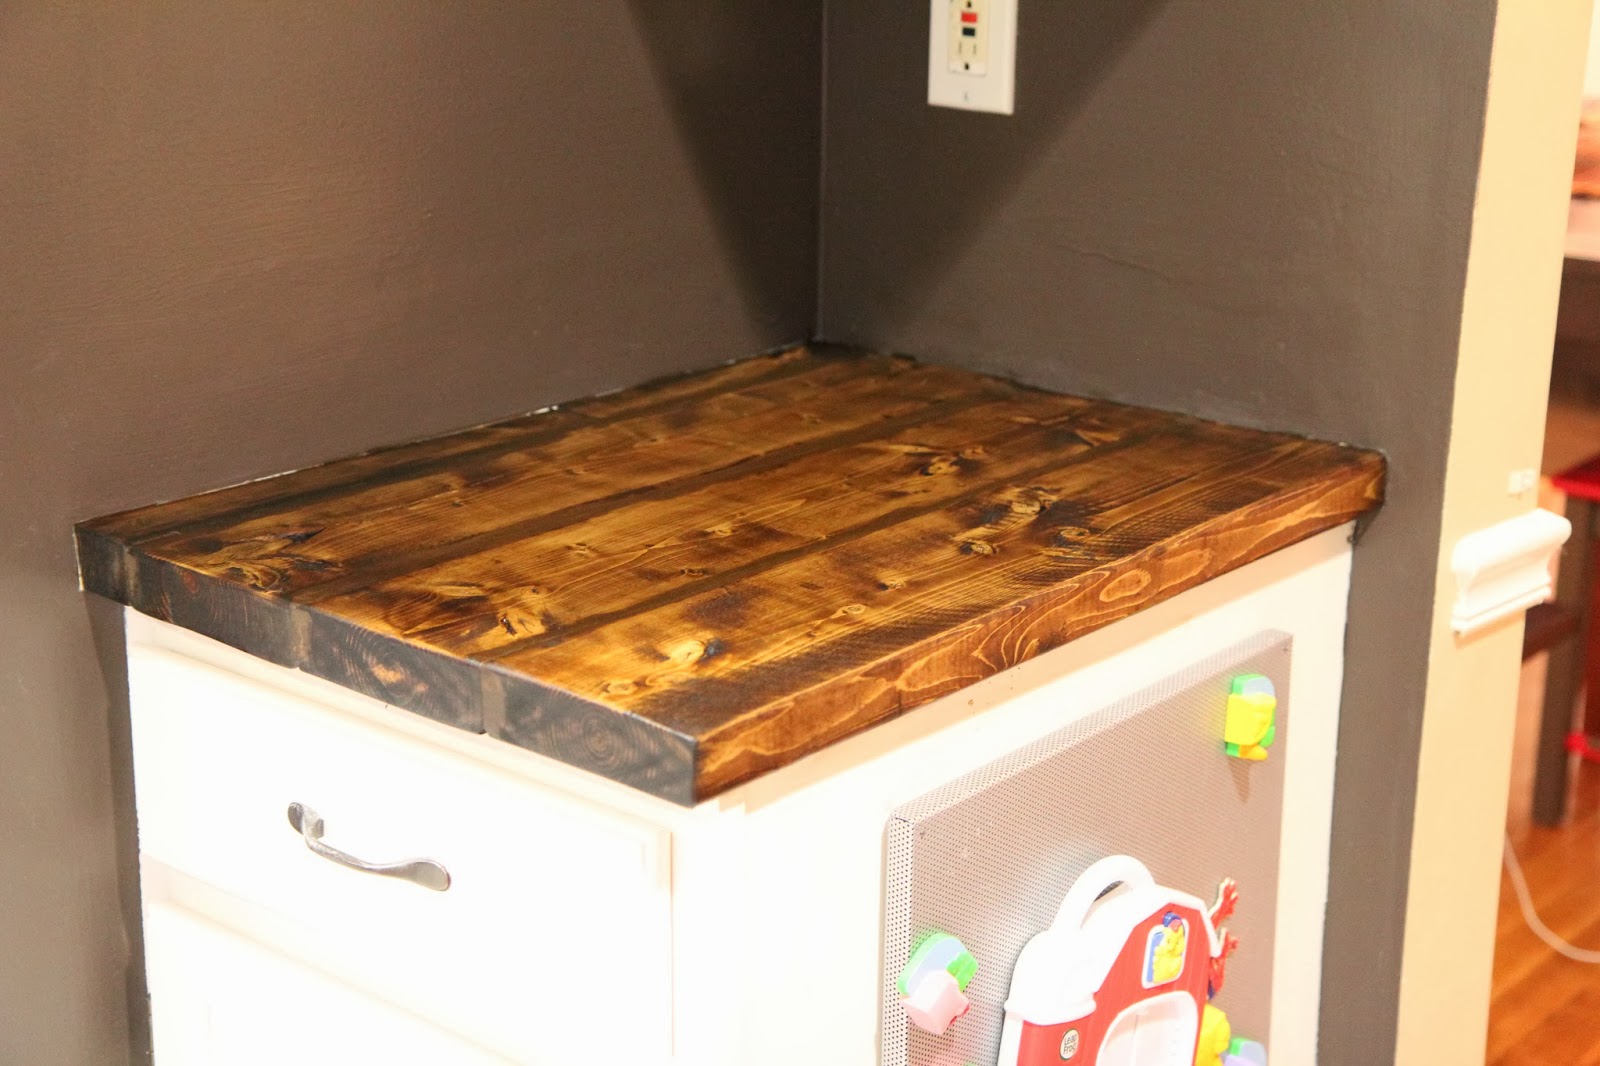
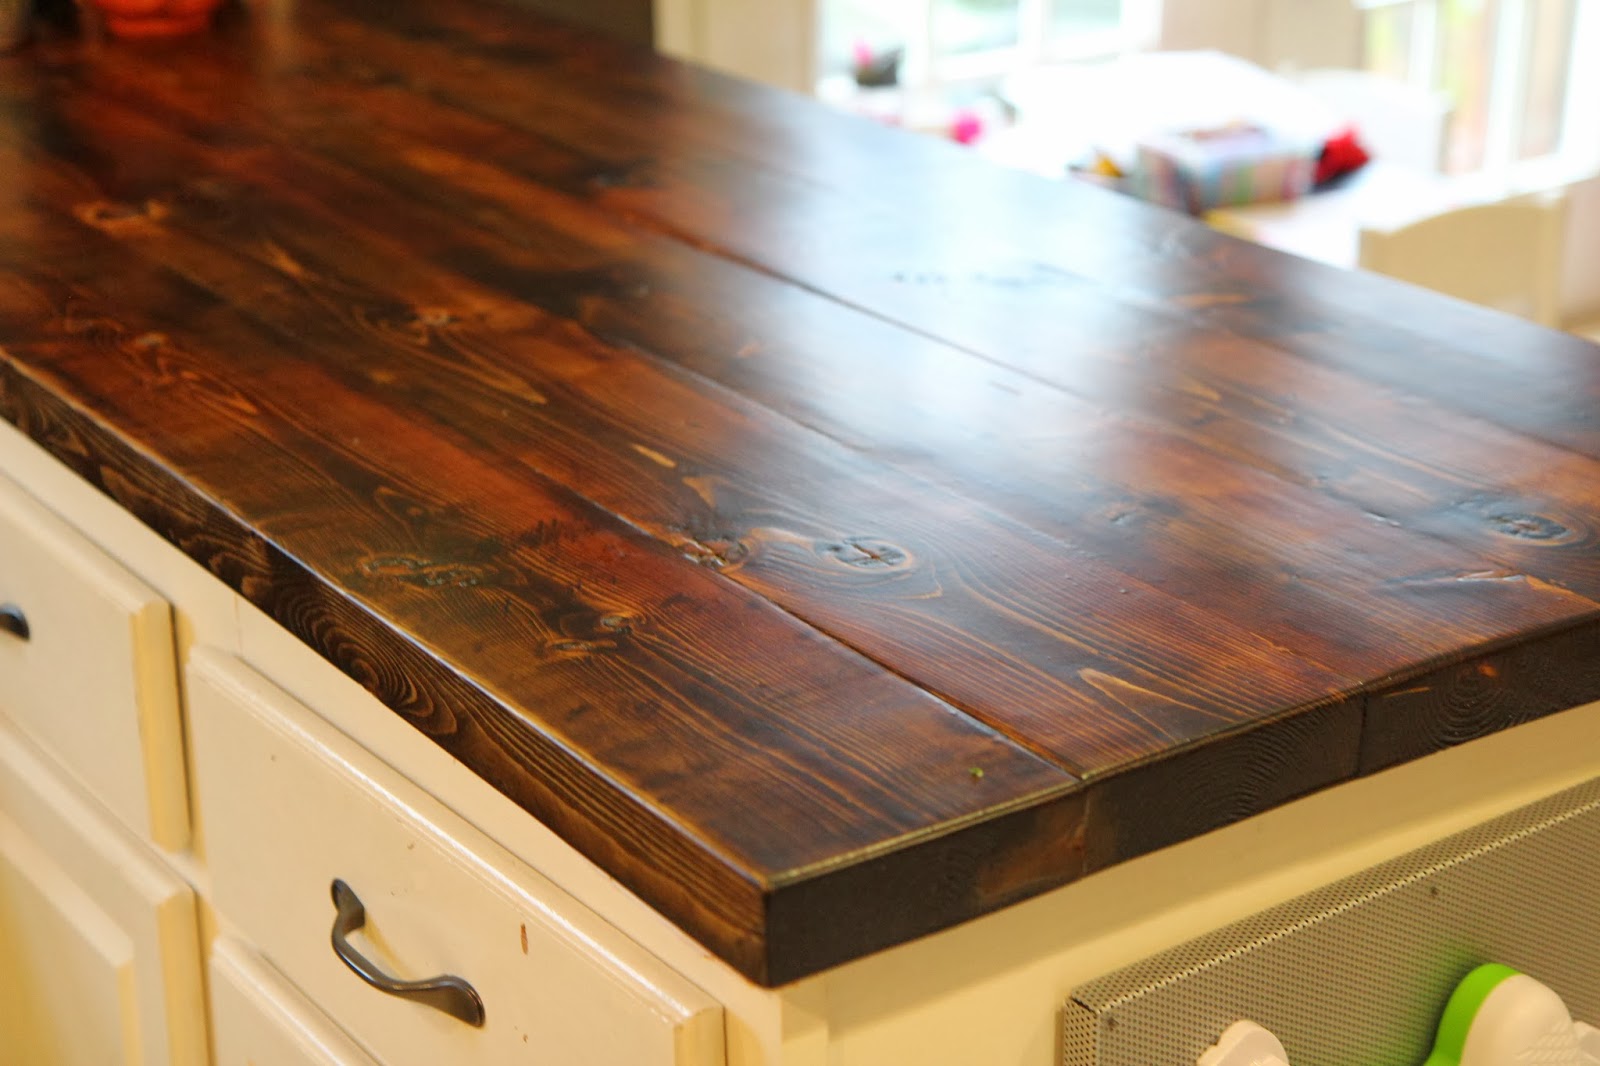
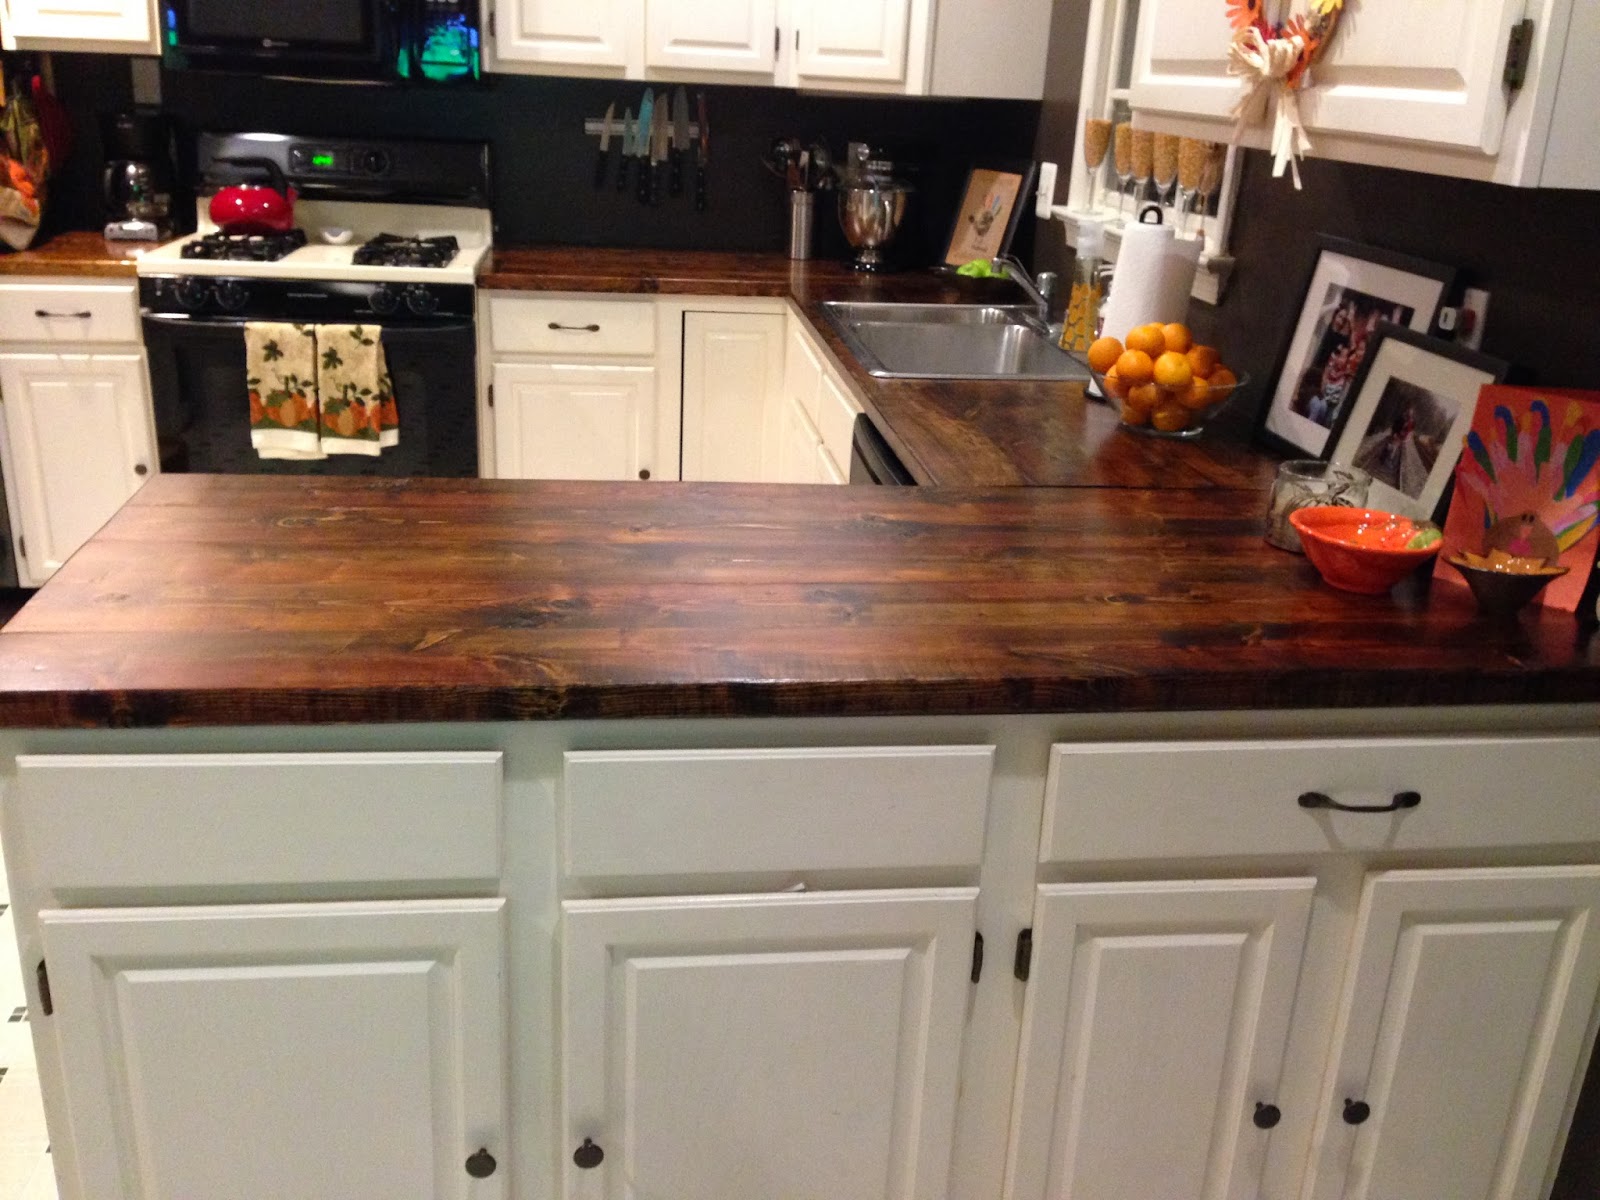
I like that you can see the different areas of stain, the honey, reds, and walnut…
The husband very sweetly cut my sink hole for me…
I polyurethaned the bottom of my counters, as well, to protect against water, moisture, condensation, and whatever else might happen under there…
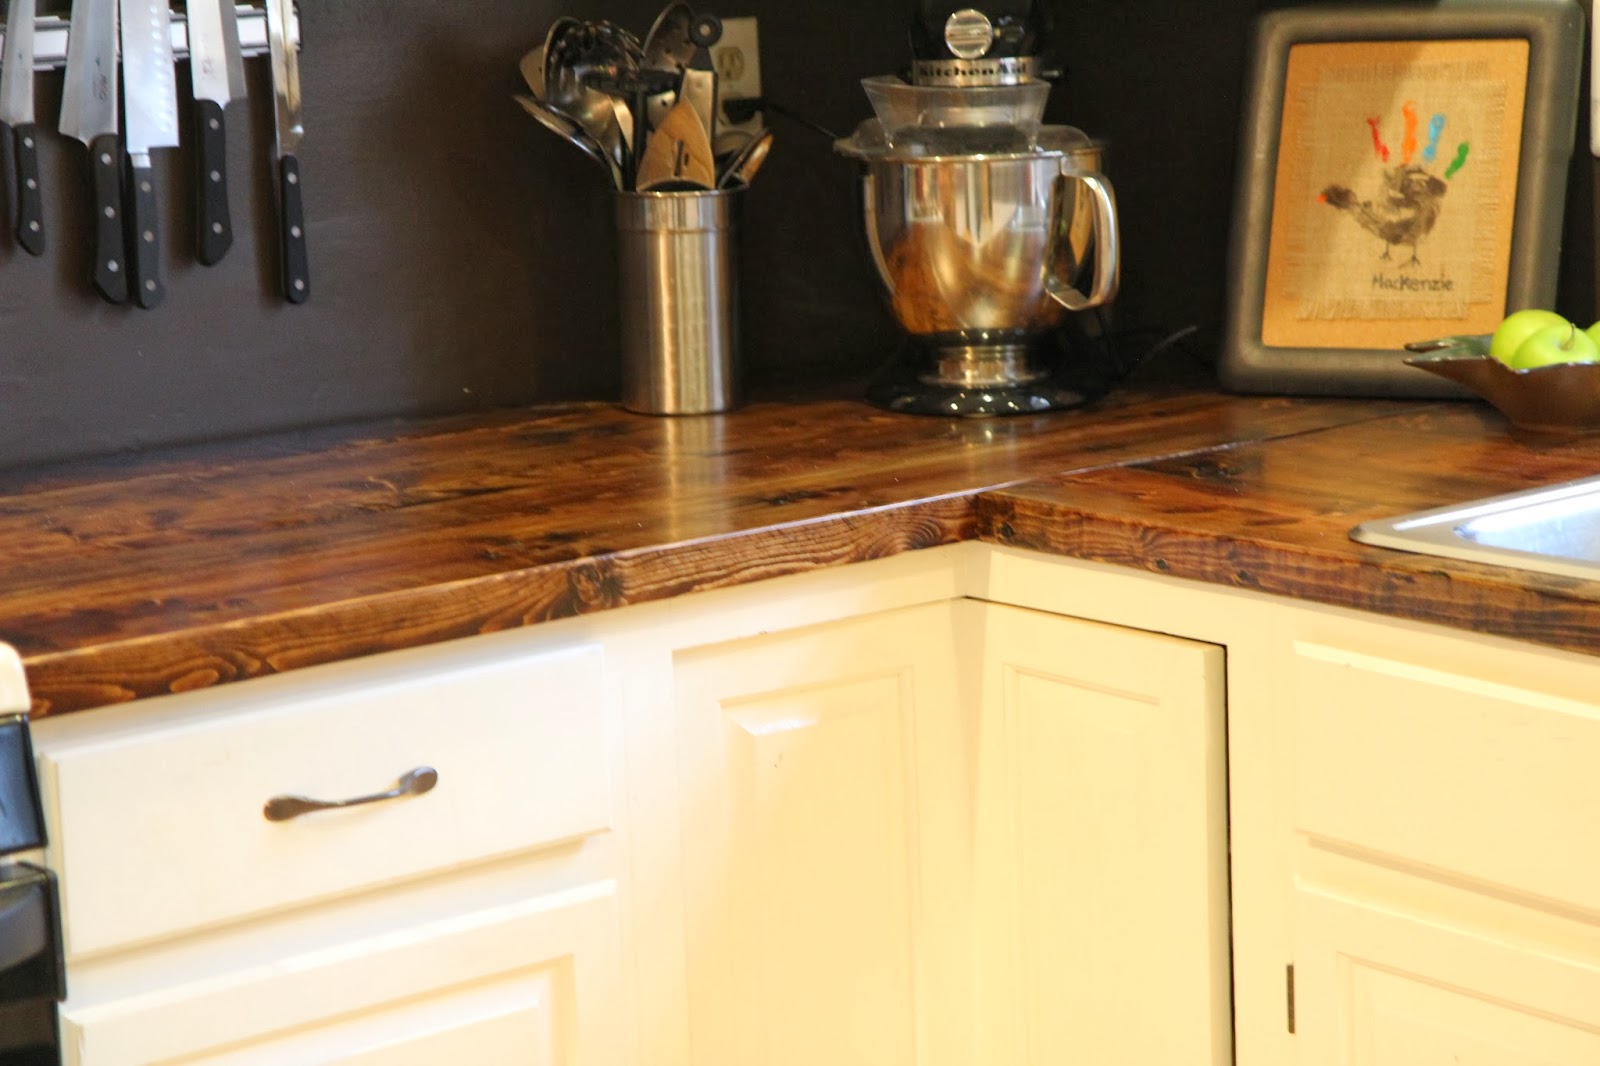
And there you have it…much harder than I thought, but so worth it!
You could use this same method for bathroom counters, bar tops, or even a table!
8 Comments
Leave a Comment
ABOUT ME

I have a wonderful husband and four amazing and precious children who were born in China. More about me...

SUBSCRIBE

FOLLOW ME ON
POPULAR POSTS
CATEGORIES
RESOURCES


Your counters look amazing! This would be great for a table too! What type of wood did you use?
That looks so amazingly beautiful! You never cease to amaze me!
I adore them. You could easily make a business out of all you do! Even if just to get people started in the right direction. You are incredibly talented!
Well done. They turned out fantastic. You definitely have a second career awaiting you!
Oh my goodness, that is amazing. I can't believe you did that! I would have never thought to use all of those different stains, what a great idea! They look beautiful!!
wow, great work and so beautiful!!! xoxo
Holy cow, I love this! How are they holding up after a few months?
You are amazing!!!